
Managing Student Groups
Managing groups allows you to organize students, making it easier to collaborate and track progress. Below are the steps to create and manage groups.
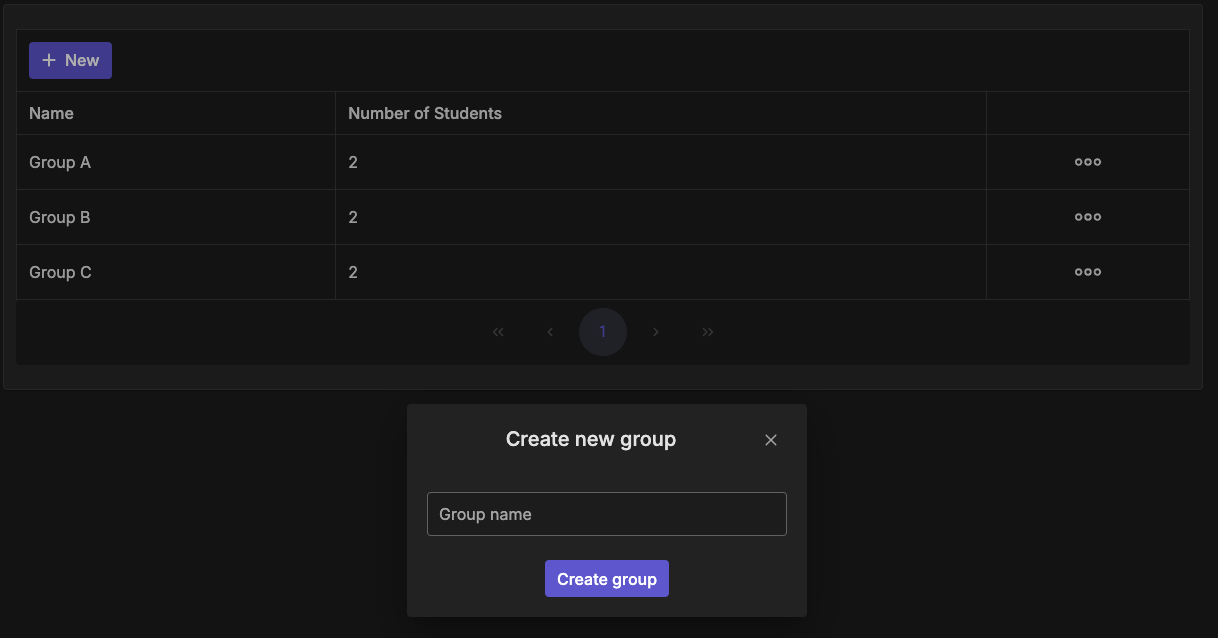
To create a new group of students:
- Navigate to the Students Page: Go to the main dashboard and open the “Users” page.
- Choose the “Create Group”: On the Students Page, select the “Create Group” button.
- Enter Group Information: In the pop-up window, give the group a name.
- Save the Group: Once all the details are entered, choose “Save” to finalize the creation of the group.
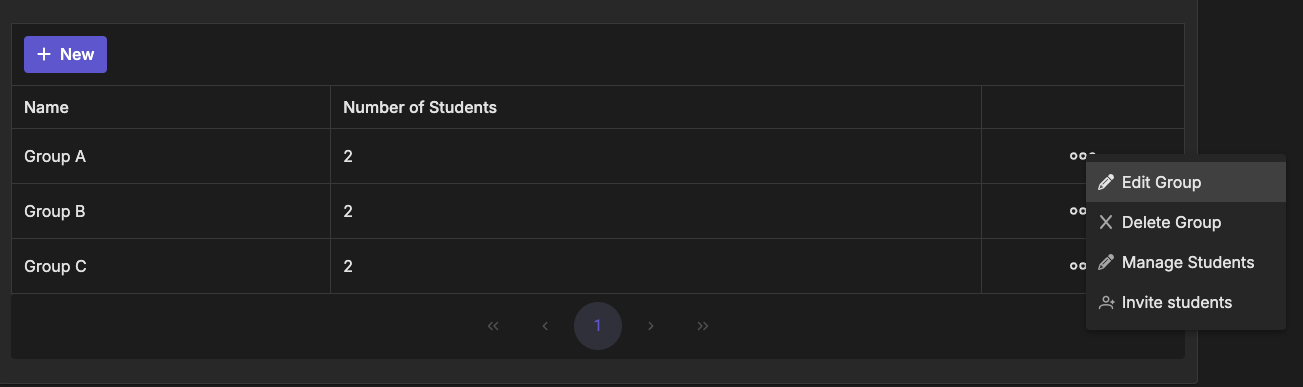
On the group page you can also:
- Edit Group
- Settings — the AI assistance and the teaching language of the group
- Delete Group
- Manage Students
- Invite Students
After creating the group, you can start adding students or use the invite options described in Inviting Students page to bring members into the group.