WordPress plugin
Installing and using wp-dojo-plugin
wp-dojo-plugin is a WordPress plugin for embedding DojoCode challenges.
How to add wp-dojo-plugin to your WordPress website
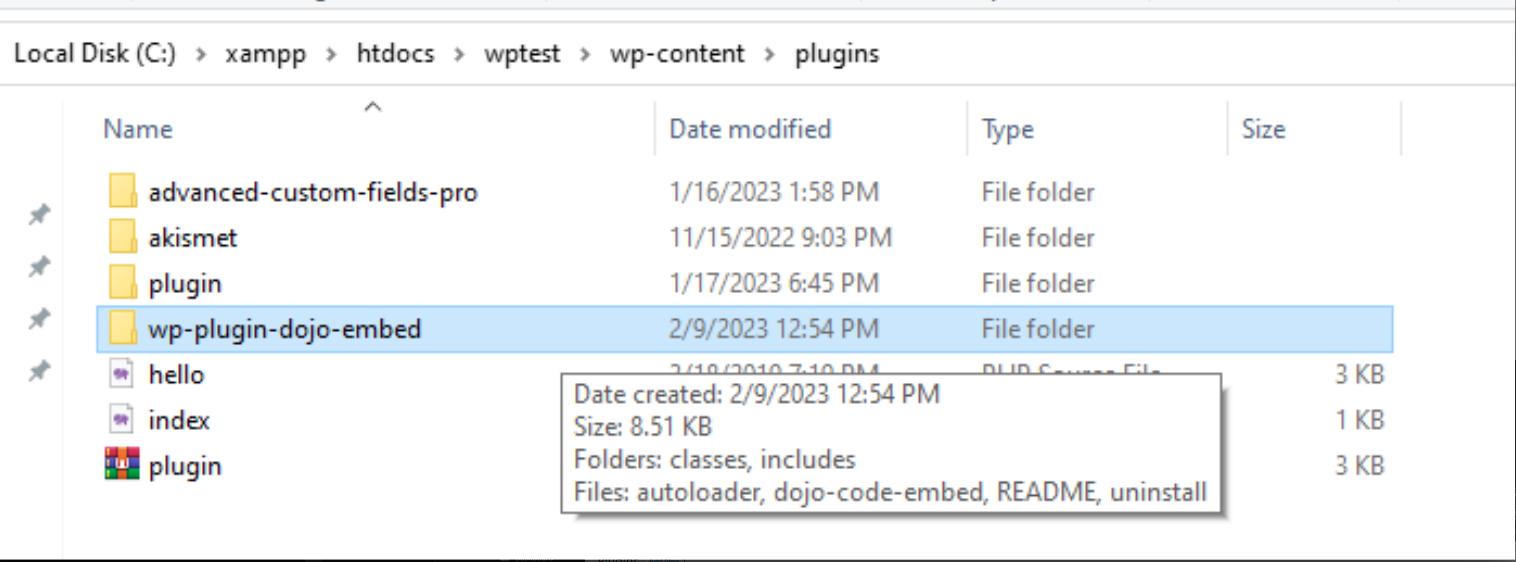
- In your WordPress file directory, open the wp-content folder, then open the plugins folder.
- Upload/ Add the unzipped plugin folder to the plugins folder
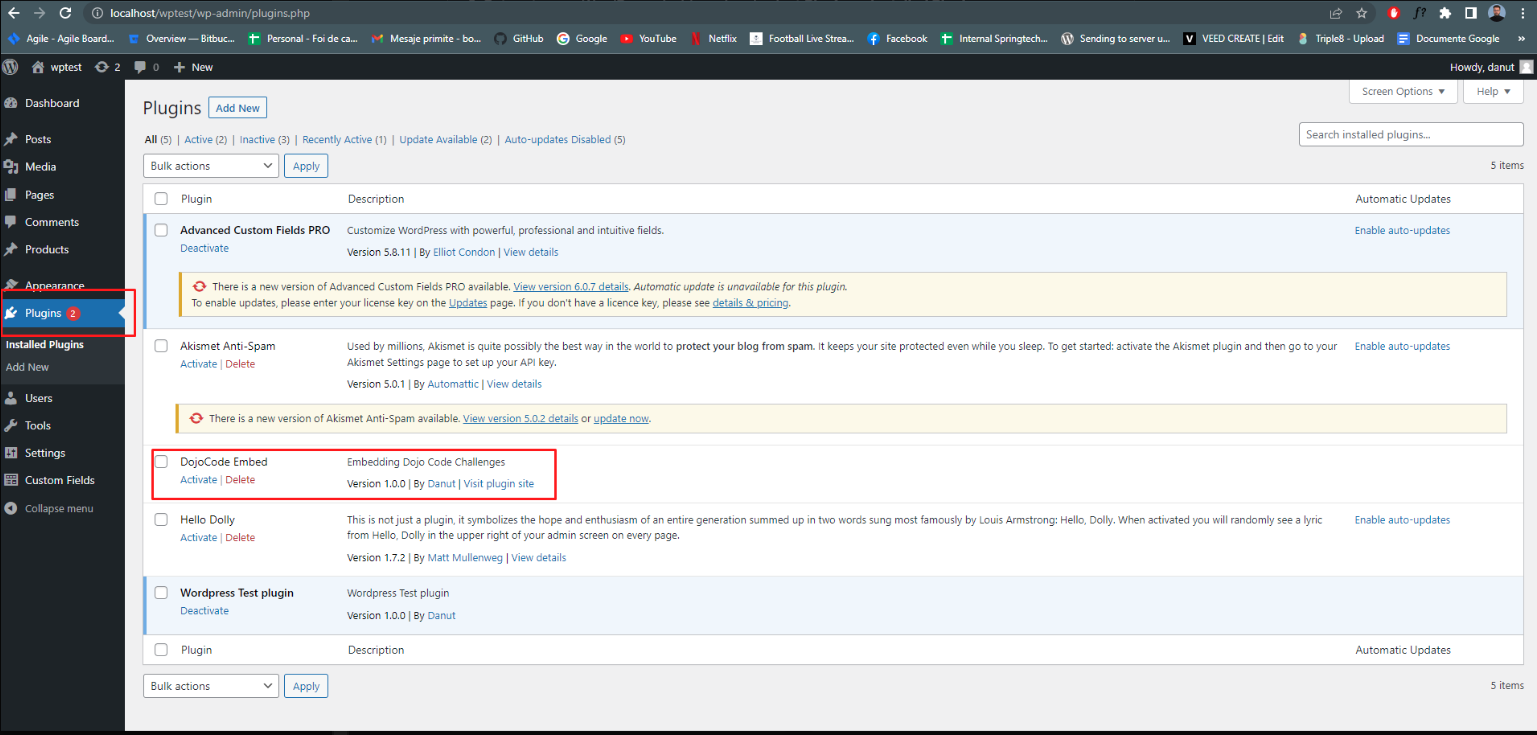
- Return to your WordPress dashboard and select Plugins > Installed Plugins Find your new plugin and click Activate.
How to Use wp-dojo-plugin in WordPress
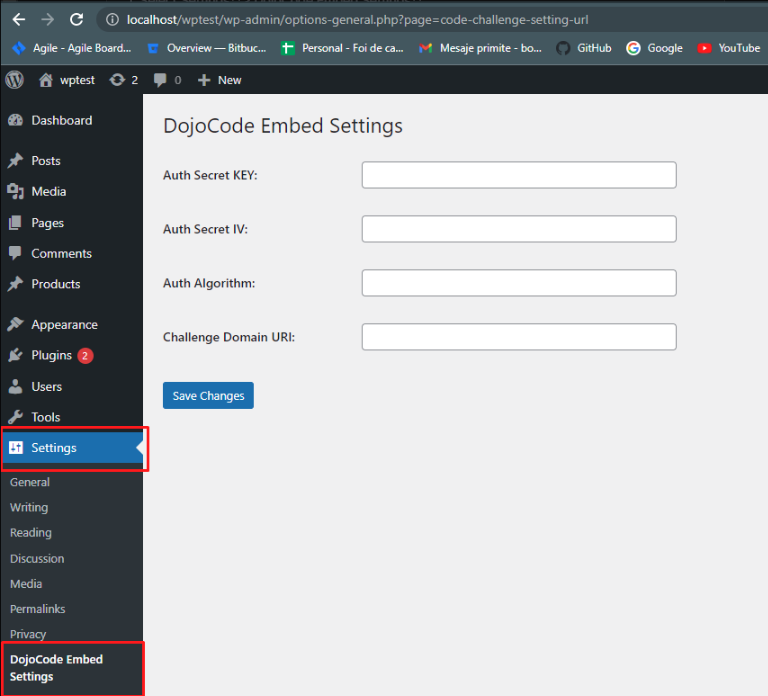
Most plugins that perform simple tasks begin working immediately after installation, but complex plugins with greater functionality may need some configuration from you. In our case, after activating the plugin we must add some settings to work. These settings consist of adding secret data used to encrypt data.
- Auth Secret KEY→ The secret key used for encryption.
- Auth Secret IV→ The secret IV used for encryption.
- Auth Algorithm→ The encryption algorithm used to encrypt data.
- Challenge Domain URI→ The domain of the challenge server. To add these settings we must follow the following steps:
Select Settings> DojoCode Embed Settings
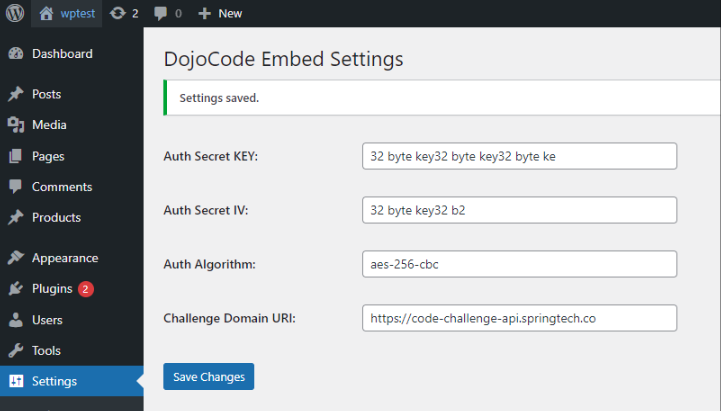
Fill out these fields and press Save Changes
How to add a challenge using wp-dojo-plugin in WordPress
- Select Post→ Add New
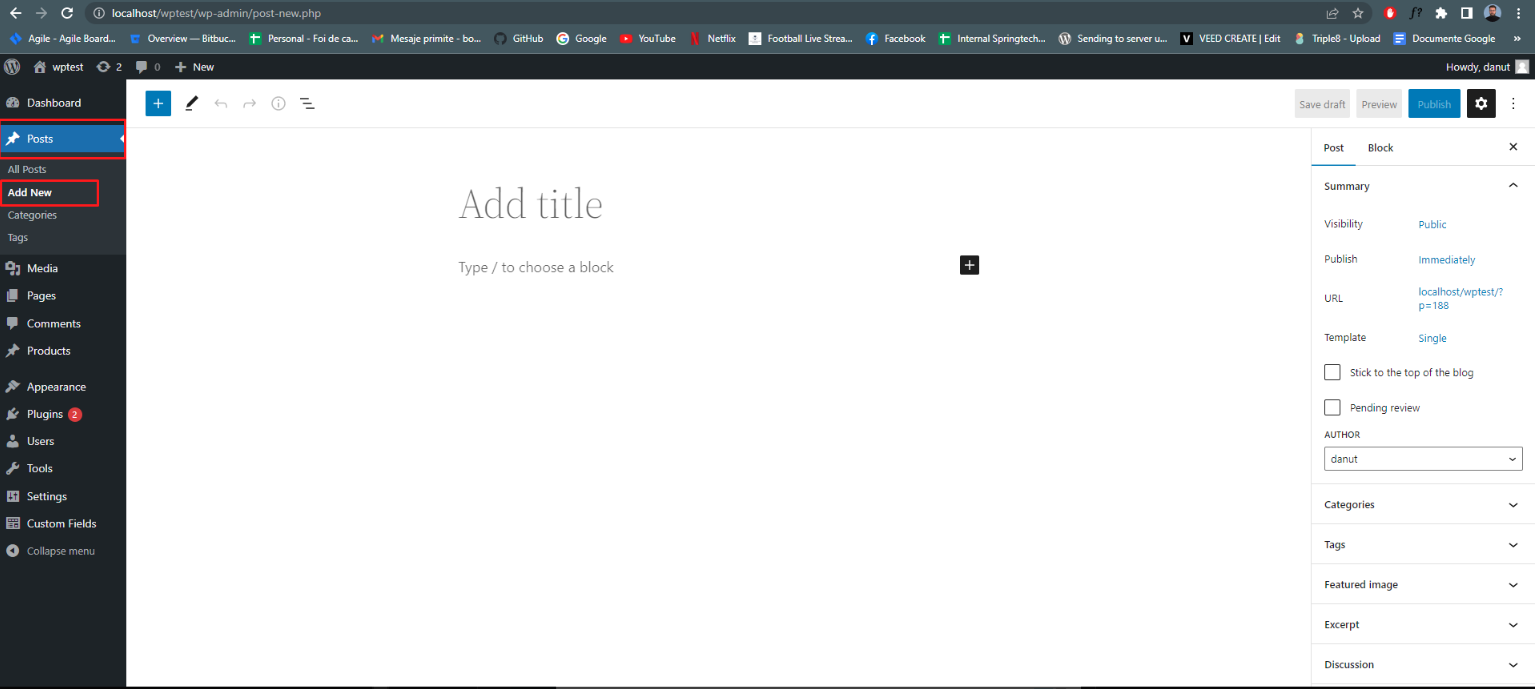
- To add a challenge we need to use the shortcode. [embed_code_challenge challengeID=""] where: challengeID → The ID of the challenge
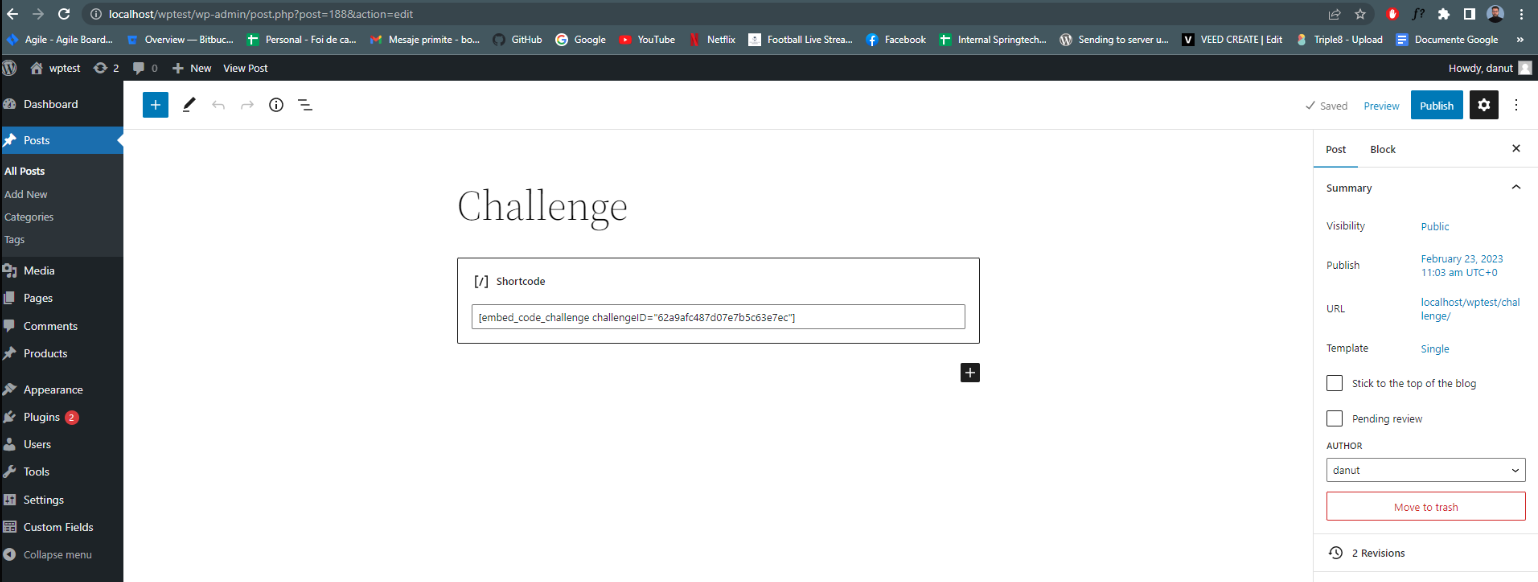
- Press the Publish button and after go to the created post to see what the added challenge looks like
