Setting Up Code Challenges in Your Web Application
Introduction
This documentation will guide business users through the process of embedding code challenges into their web applications using DojoCode Challenge's powerful integration feature. Embedding code challenges can be a valuable addition to your web application, enhancing user engagement and providing interactive coding experiences. To get started, follow the steps outlined below.
Prerequisites
Before you begin, make sure you have the following:
- An active business account on DojoCode Challenge.
- Access to your web application's settings.
Step 1: Access Embed Verification
To initiate the setup process, access the tool by visiting Code Challenge Embed Verification. This tool allows you to preview and customize how the embedded code challenges will appear on your web application.
Go to Code Challenge Embed Verification for more details about this tool.
Step 2: Generate Access Keys
To securely integrate code challenges into your web application, you need to generate access keys. Follow these steps:
- Log in to your business account on DojoCode Challenge.
- Navigate to the "Settings" section. (Fig.1)

Fig. 1
+ Click on Access Keys. (Fig.2)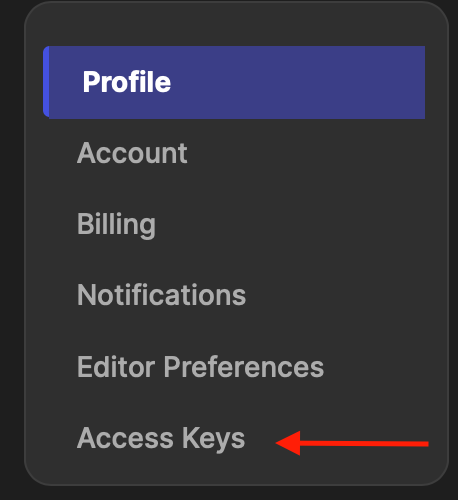
Fig. 2
Here, you can generate the following access keys (Fig.3): + Secret Key + Secret IV + Algorithm + Access Username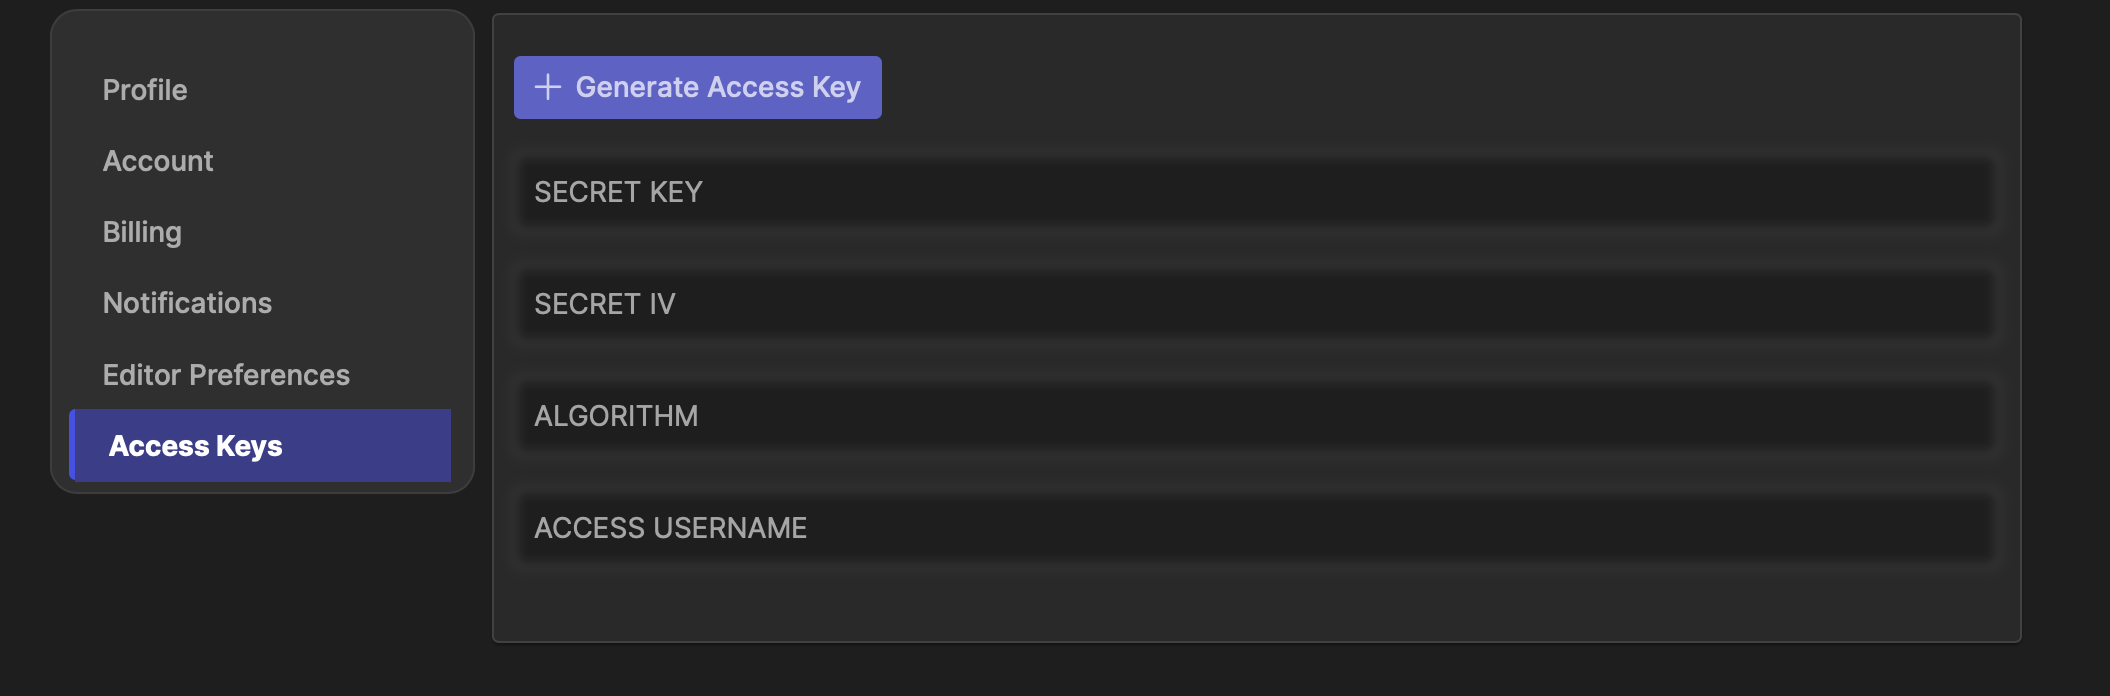
Fig. 3
Click on the "Generate Access Key" button to create these keys. These credentials are essential for ensuring secure communication between your web application and the Code Challenge system.
Step 3: Allow Domains
After generating the access keys, you'll need to specify the domains from which you want to embed code challenges. This step enhances security and ensures that only authorized domains can access your challenges. Here's how to do it:
- In the same Access Keys section, locate the "Allow Domain" field. (Fig.4)
- Enter your web application's domain(s) where you plan to embed the code challenges. If you have multiple domains, enter them separately, separated by commas.

Fig. 4
Step 4: Accessing and Managing Keys
Once you've generated the access keys and allowed domains, you can always access and manage these credentials from your account's settings. The keys are initially blurred for security purposes. (Fig.5)
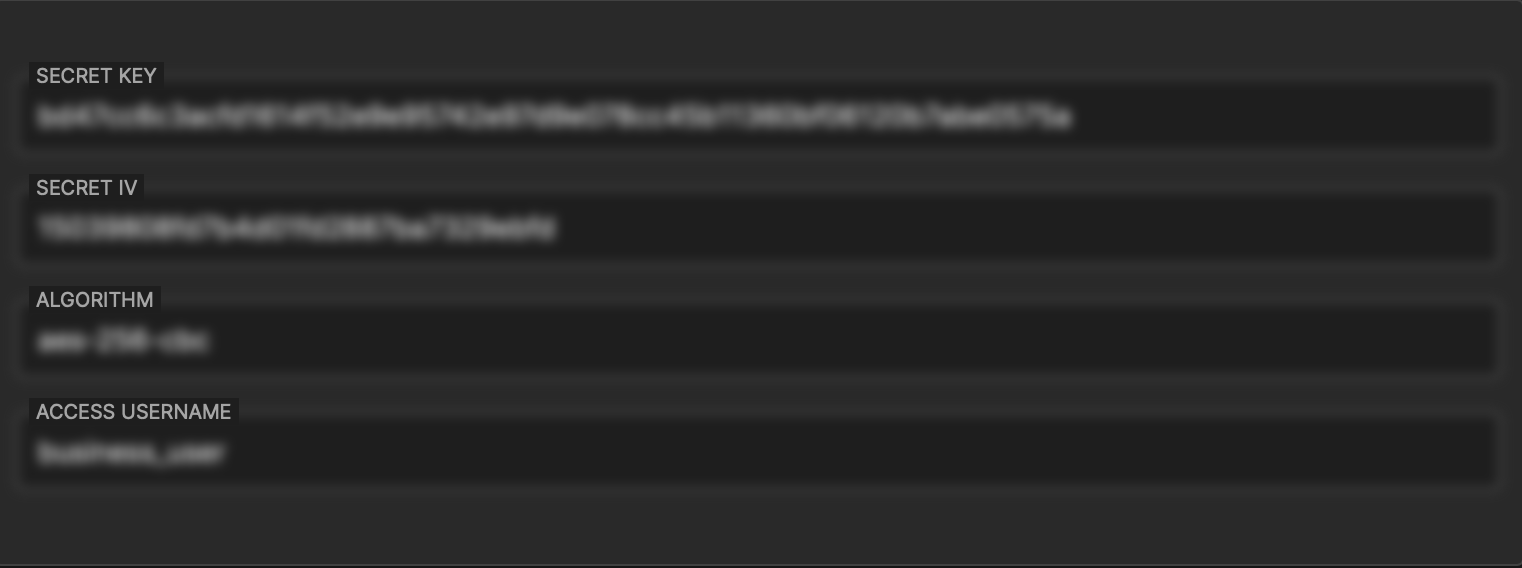
Fig. 5
To access and view these keys:
- In your Settings, locate the specific access key you want to view.
- Click on the blurred key individually, and it will be displayed in clear text for your reference.
This documentation provides a comprehensive guide to setting up code challenges in your web application. If you have any questions or need further assistance, please don't hesitate to contact our support team at Contact Form. We're here to help you create an engaging and interactive learning experience for your users.